|
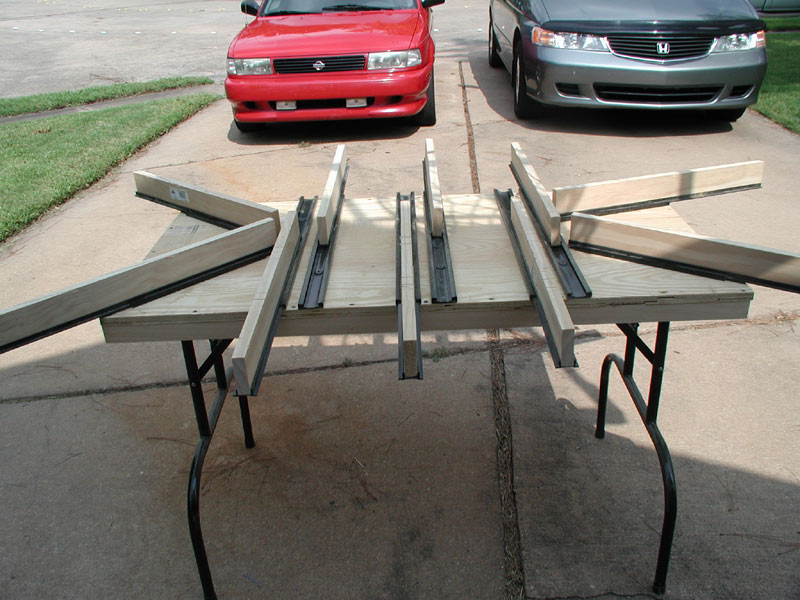
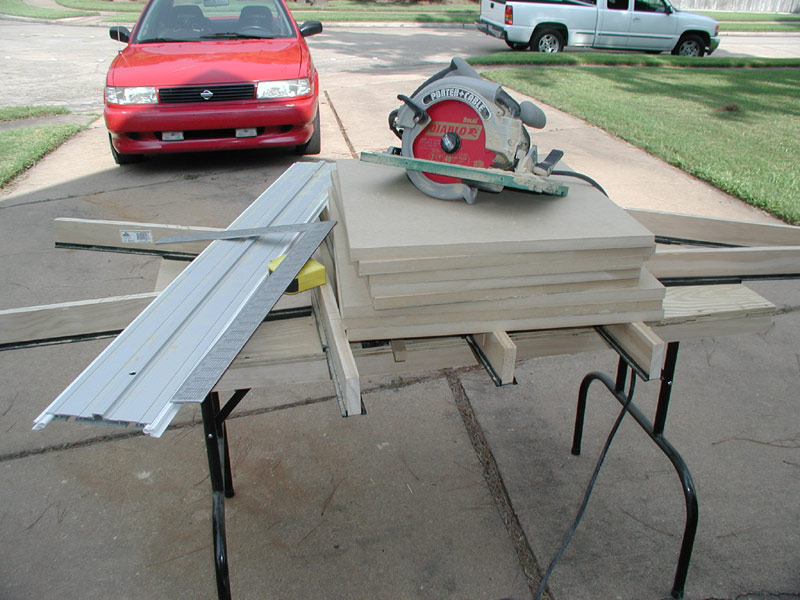
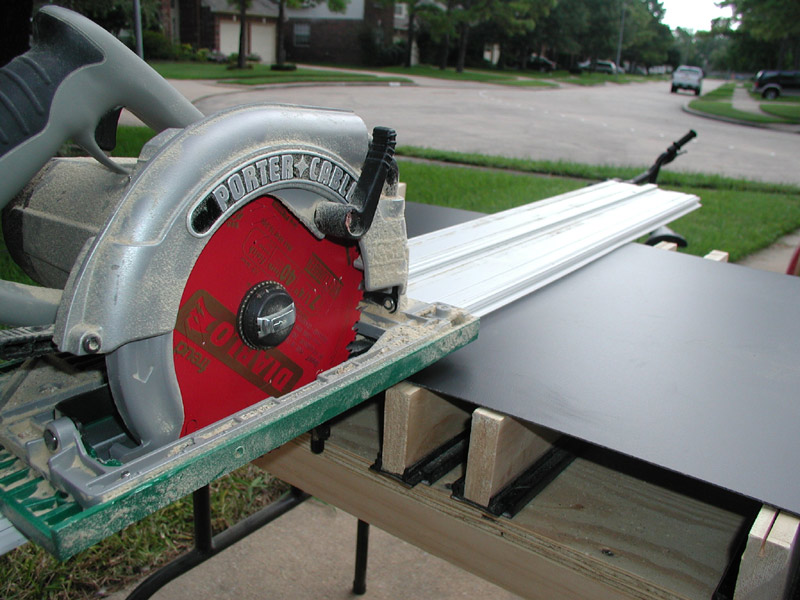
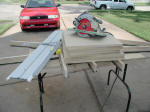
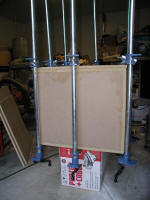
This is the Smart Table. It uses adjustable 3.5" wooden supports
that you can replace. |
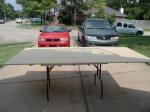 |
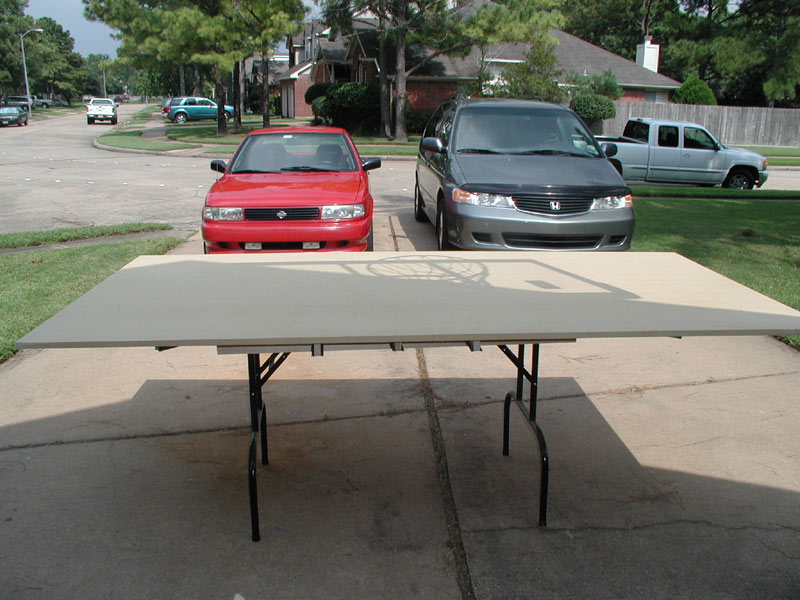
It easily supports a 4'x8' sheet of MDF. Ever try wrestling a
90+lb. sheet of MDF over a table saw? Leave the wood in one place
and run the saw over it. It's safer. |
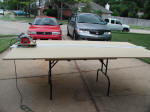 |
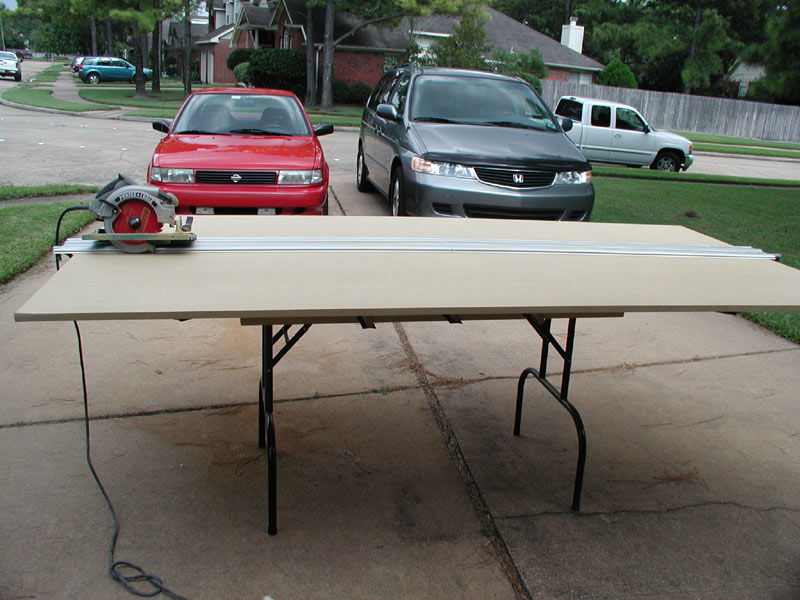
Instead of the table saw I'm using my trusty Porter Cable 325MAG
circular saw. The Smart Guide rails are just over 4' each. The two
that come in the kit join together with alignment rails to form a
rigid, straight cutting guide long enough to easily rip an 8' sheet.
It only takes seconds to align and cut and it's dead on accurate. |
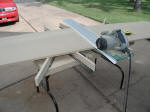 |
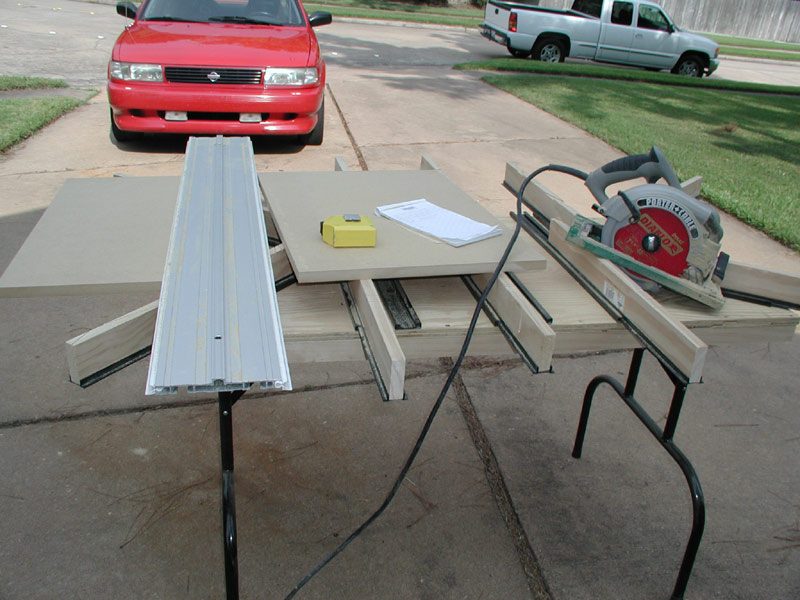
I use just one of the guides for crosscutting. I chose the
325MAG because of the electric blade brake. I owned a Festool ATF 55
for a while, but it seemed a bit "prissy" compared my new setup. I
wouldn't feel as bad if I dropped my 325MAG compared the the Festool.
Knowing me, I'll end up dropping it before the end of this project. |
 |
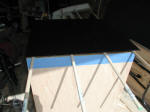
The white plastic edge of the guide is the finish cut line. Make
a mark at each end of your piece and lay the guide on them. The saw
does the rest. |
 |
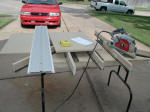
If I didn't have to watch the kids while my wife was gone, I
could have done all of these cuts in just a few minutes. |
 |
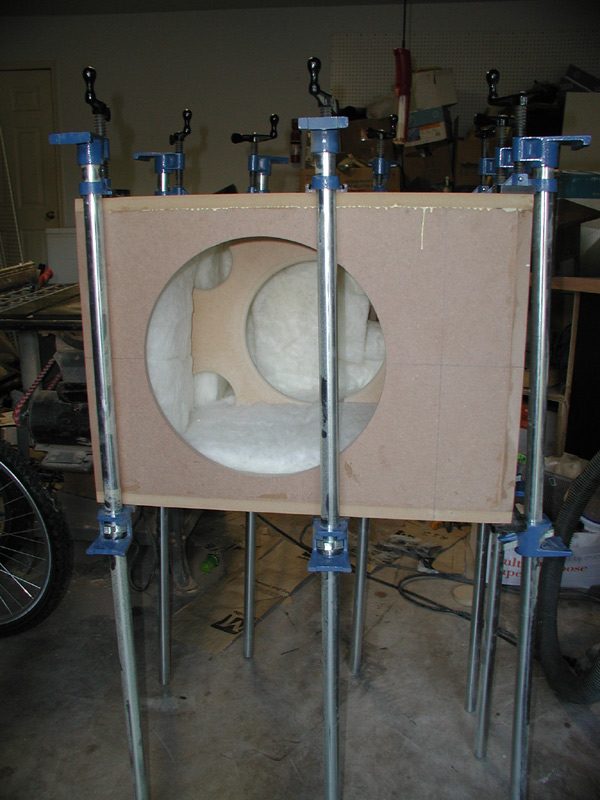
Now the fun stuff, construction! One part of the front baffle,
the back and bottom get glued up. |
 |
|
 |
|
 |
|
 |
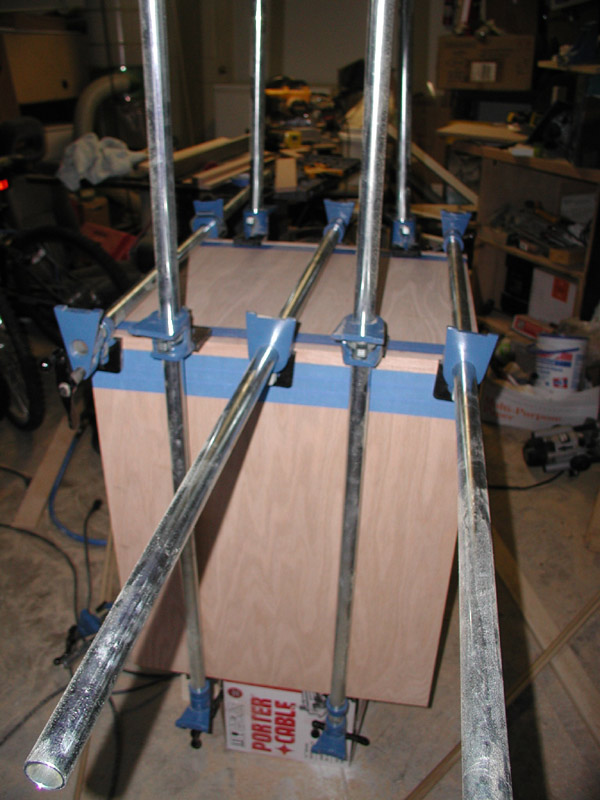
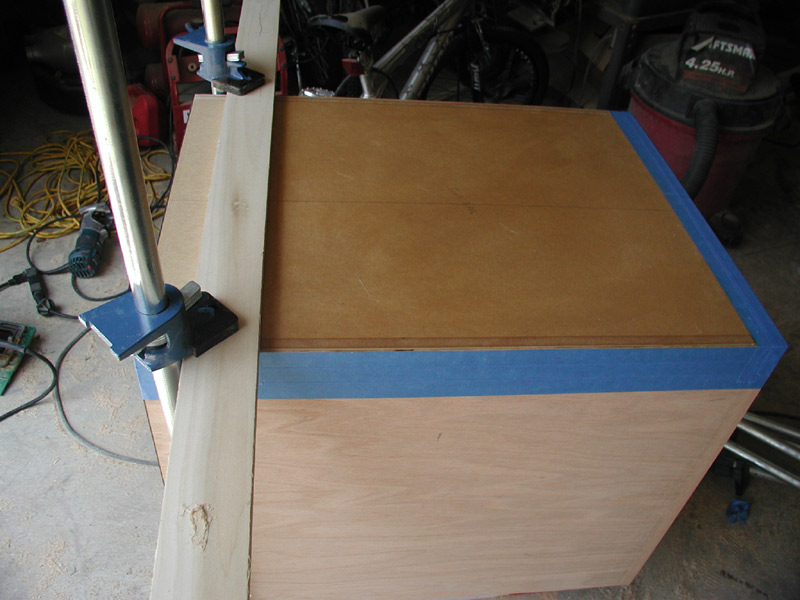
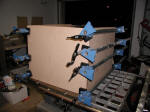
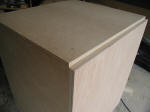
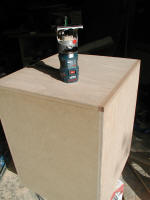
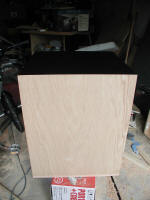
With the core box finished, I laid up the second layer on the
sides. The second layer consists of 1/2" MDF and 1/4" plywood. |
 |
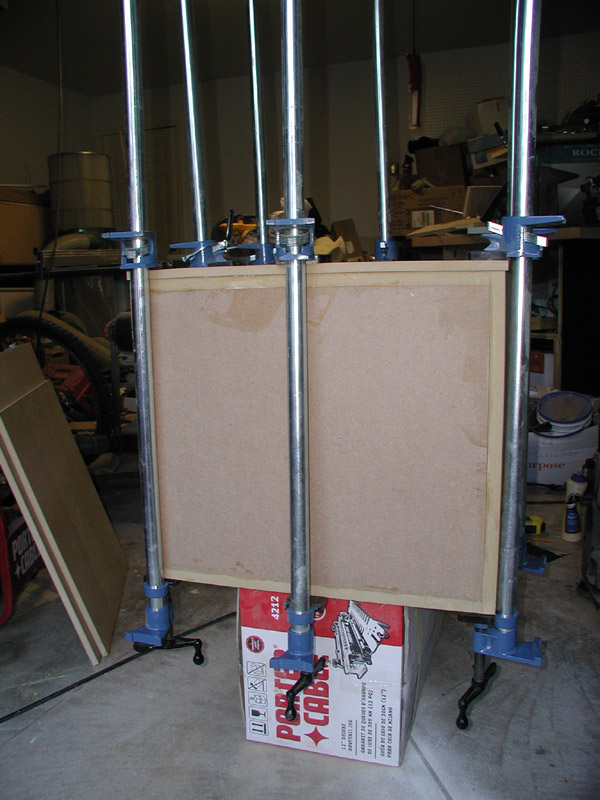
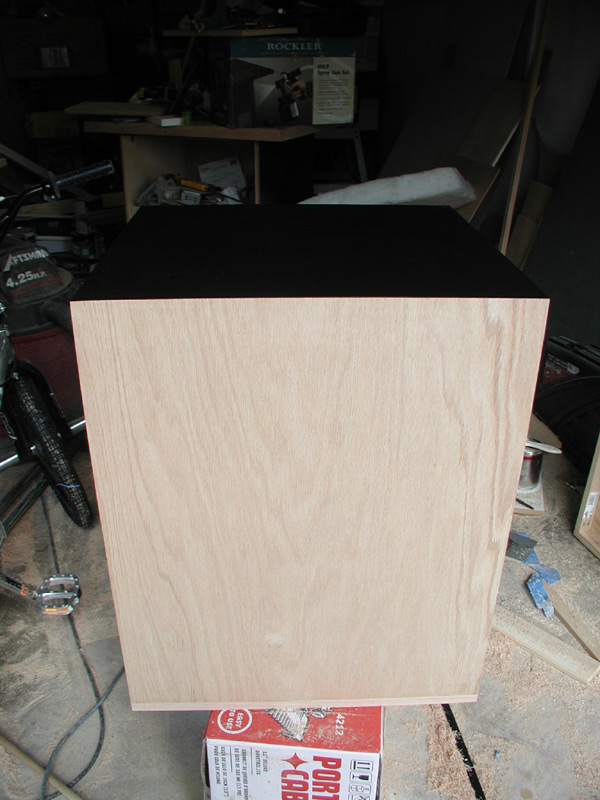
The sides are finished and the 1/2" MDF for the top is in place. |
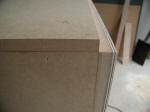 |
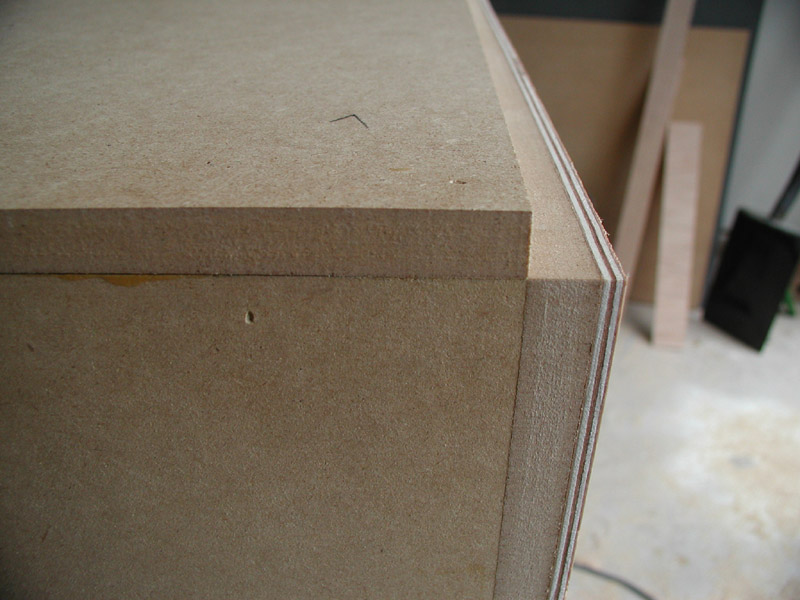
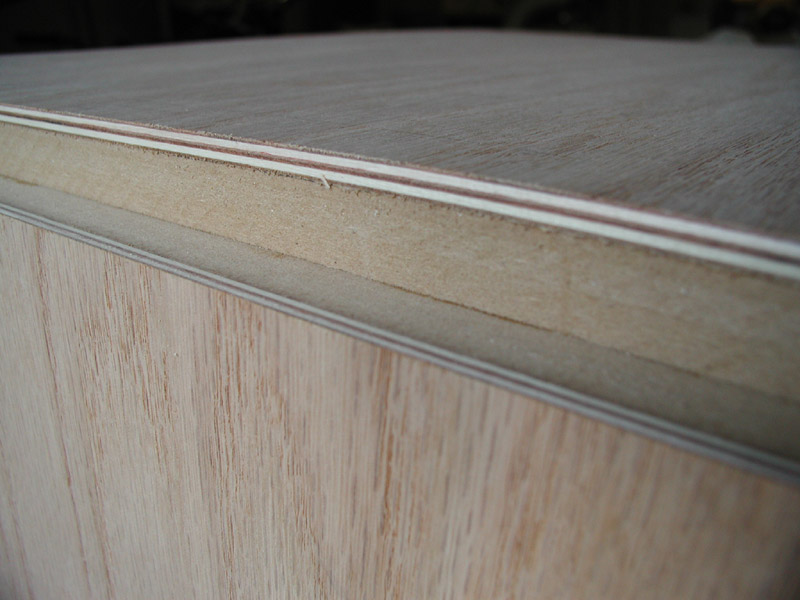
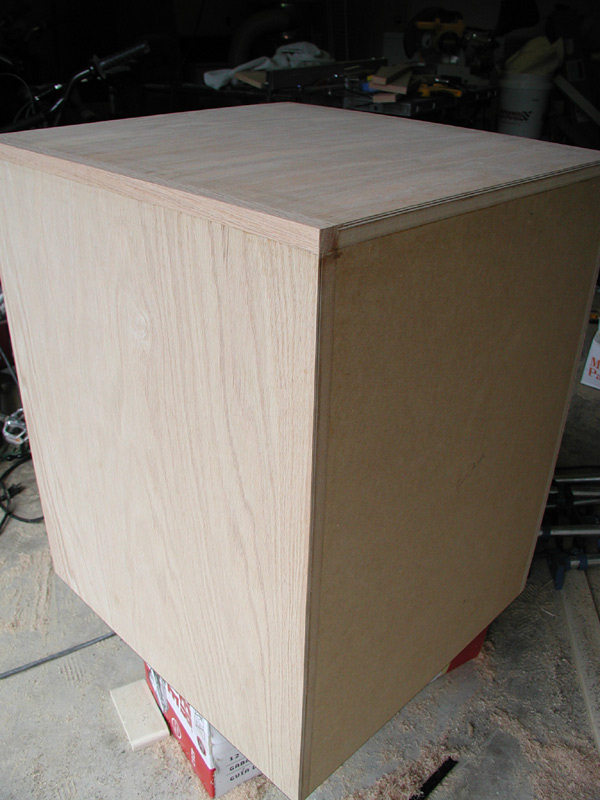
Closeup of the side profile and the flush trimmed top. Note the
holes where I shot brads into the MDF to locate it while I clamped
it. |
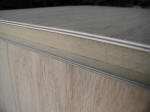 |
Closeup of the finished top and side. I Snapped the pic right
after I flush trimmed the top. Fuzzies are everywhere. |
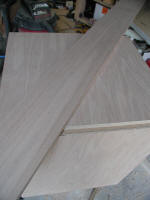 |
Off the shelf 1" x 6" Red Oak from Home Depot. My son Tripp made
sure it matched the plywood. This will be used for the filler strips
on top as well as the "beauty" pieces on the front. |
 |
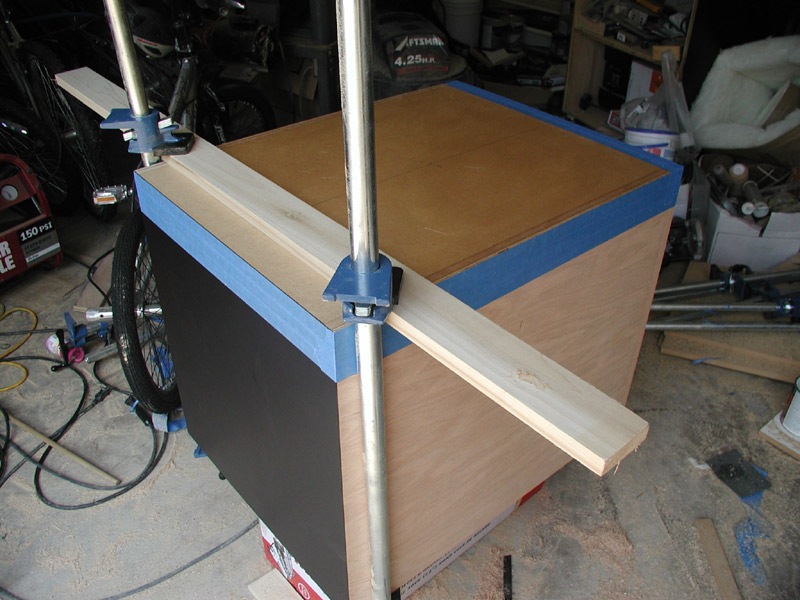
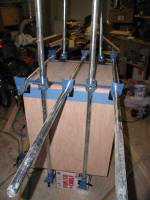
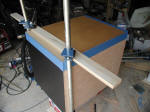
The Smart Guide and circular saw crosscut and ripped the oak
with ease. It handles small thin pieces well. The top filler pieces
are 3/4" x 3/4". The 1/2" MDF is almost exactly 1/2", but the 1/4"
plywood is less than 1/4". This is fine because it'll get flush
trimmed. The blue tape keeps the glue that squeezes out from soaking
into the oak plywood. That would ruin the finish later on. Stain
doesn't soak into dried glue very well. |
 |
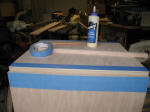
The filler pieces are glued and clamped. I'll flush trim them in
the morning when the glue cures. Sorry for the blurry pic. |
 |
I flush trimmed the filler pieces with my weapon of mini
destruction, the Bosch Colt palm router. I bought a new Woodcraft
1/4" shank 3/8" flush trim bit yesterday. Every once in a while
Woodcraft has them on sale for $5 and they are pretty good. |
 |
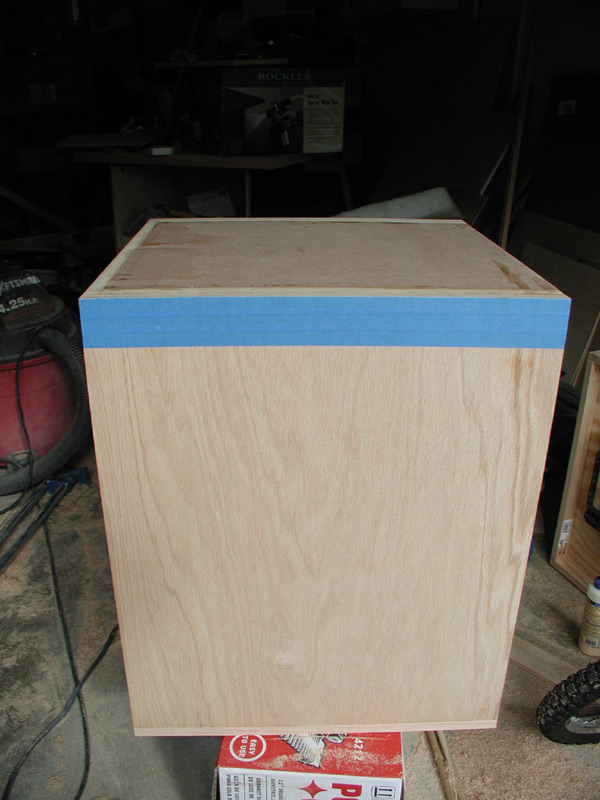
I flipped the box upside down so I could work on the bottom.
Yes, even the bottom gets the full treatment. Like always, I tape
the sides to protect them from squeeze out. |
 |
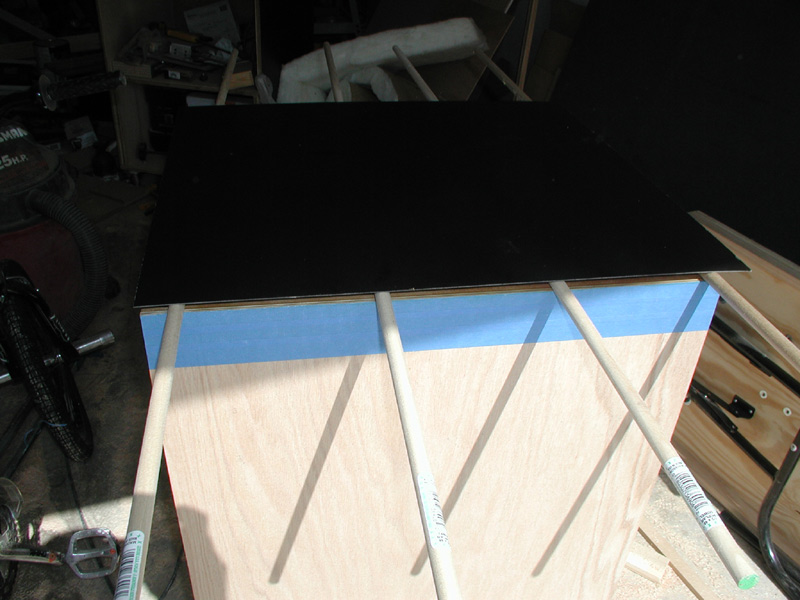
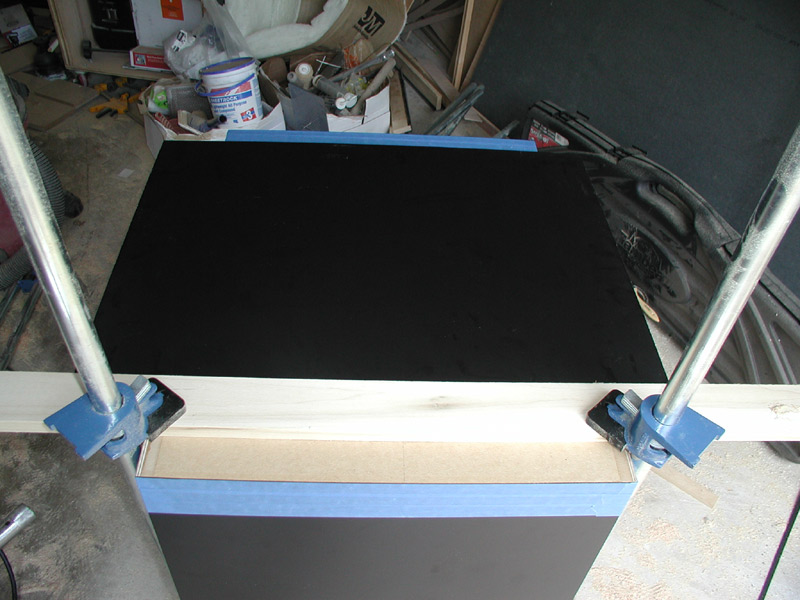
I cut the bottom and applied the contact cement. This pic is
with everything in place right before I pressed the laminate in
place. The dowels keep the laminate up from the cement so you can
position it. |
 |
The Smart Guide was called into duty again to cut the laminate. |
 |
The bottom laminate is pressed into place and rolled with a J
roller to make sure it's flat. A quick trim with the Colt and I'm
done with the bottom. I'll be installing rubber feet on the bottom
because we have tile floor. |
 |
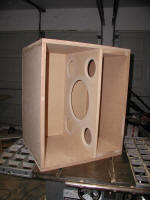
The final look at the front baffle before I start work on it. |
 |
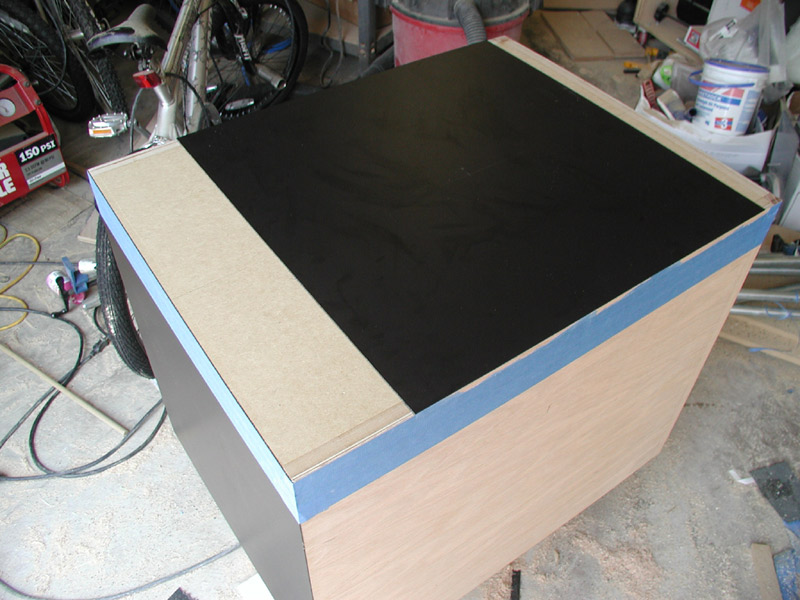
I started this morning by marking where the plastic laminate on
the front baffle would go. I then taped off everything I didn't want
contact cement to ruin. After applying the contact cemtent I placed
a board on the edge of where I wanted the laminate to go. This
allowed me to basically drop the laminate into place and not worry
about alignment. The laminate is cut to size from top to bottom and
the sides are left long for trimming. |
 |
|
 |
|
 |
Here's the laminate all trimmed up and ready to go |
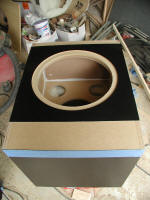 |
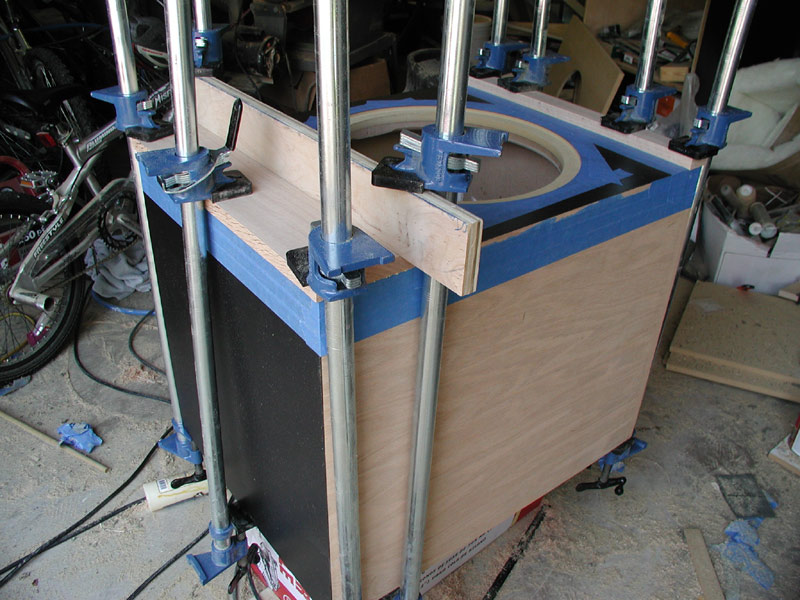
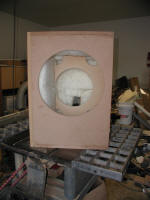
I finally got to cut the baffle for the driver. Woohoo! |
 |
I cut two pieces of oak to go above and below the laminate. A
speaker grill frame will be cut from 3/4" MDF later on to fit
between the trim pieces. |
| |
|
| |
|
| |
|